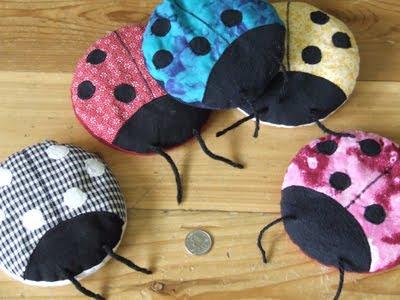
If you haven't seen these before, you can purchase an inexpensive pattern to make one yourself here. Here's a tip on how to sew those small little dots on with a satin stitch that actually looks good.

If you want to make one from my pattern you can find it here.
First off, pin the dots where you want them. My first thought is to use a baste stitch, or a long stitch (length 4), but it is actually less secure for when you use the satin stitching. Use a normal stitch length (2-3) and sew very close to the raw edge of the dot- See Below Picture. (If you want extra secure dots, use 'wonder-under' or other double sided fusible interfacing.)

Use the side wheel to hand 'crank each stitch so that it doesn't veer off the curve, pivoting the fabric every 3 or so stitches.
For the Satin Stitching, use Zig Zag stitch with a length at about 0.5 or near 0. Keep your hand on the wheel to pivot it every 3 or so stitches so it has a uniform look to it- Otherwise it will look more like polygon. If you want it to look really good, patience is the key.
For the more confident seamstress, just slowly sew using both hands to constantly pivot to make the curve. I admit, I wasn't as patient as I could have been while making this ladybug. I think the next one is the one I will list in my etsy shop.


No comments:
Post a Comment